Configure organization settings
After completing the data controller profile wizard, you can fine-tune your organization's details, branding, and domain configuration from the dashboard. These settings appear in your compliance documents, privacy notices, and Transparency Center.
Access organization settings
From the dashboard sidebar, navigate to Settings > Organization, or click the Organization breadcrumb in the top navigation. The Organization page has four tabs: Account Details, Organization Details, Domain Management, and Branding.
Organization details
The Organization Details tab displays the information you provided during the data controller profile wizard. You can update any field here.
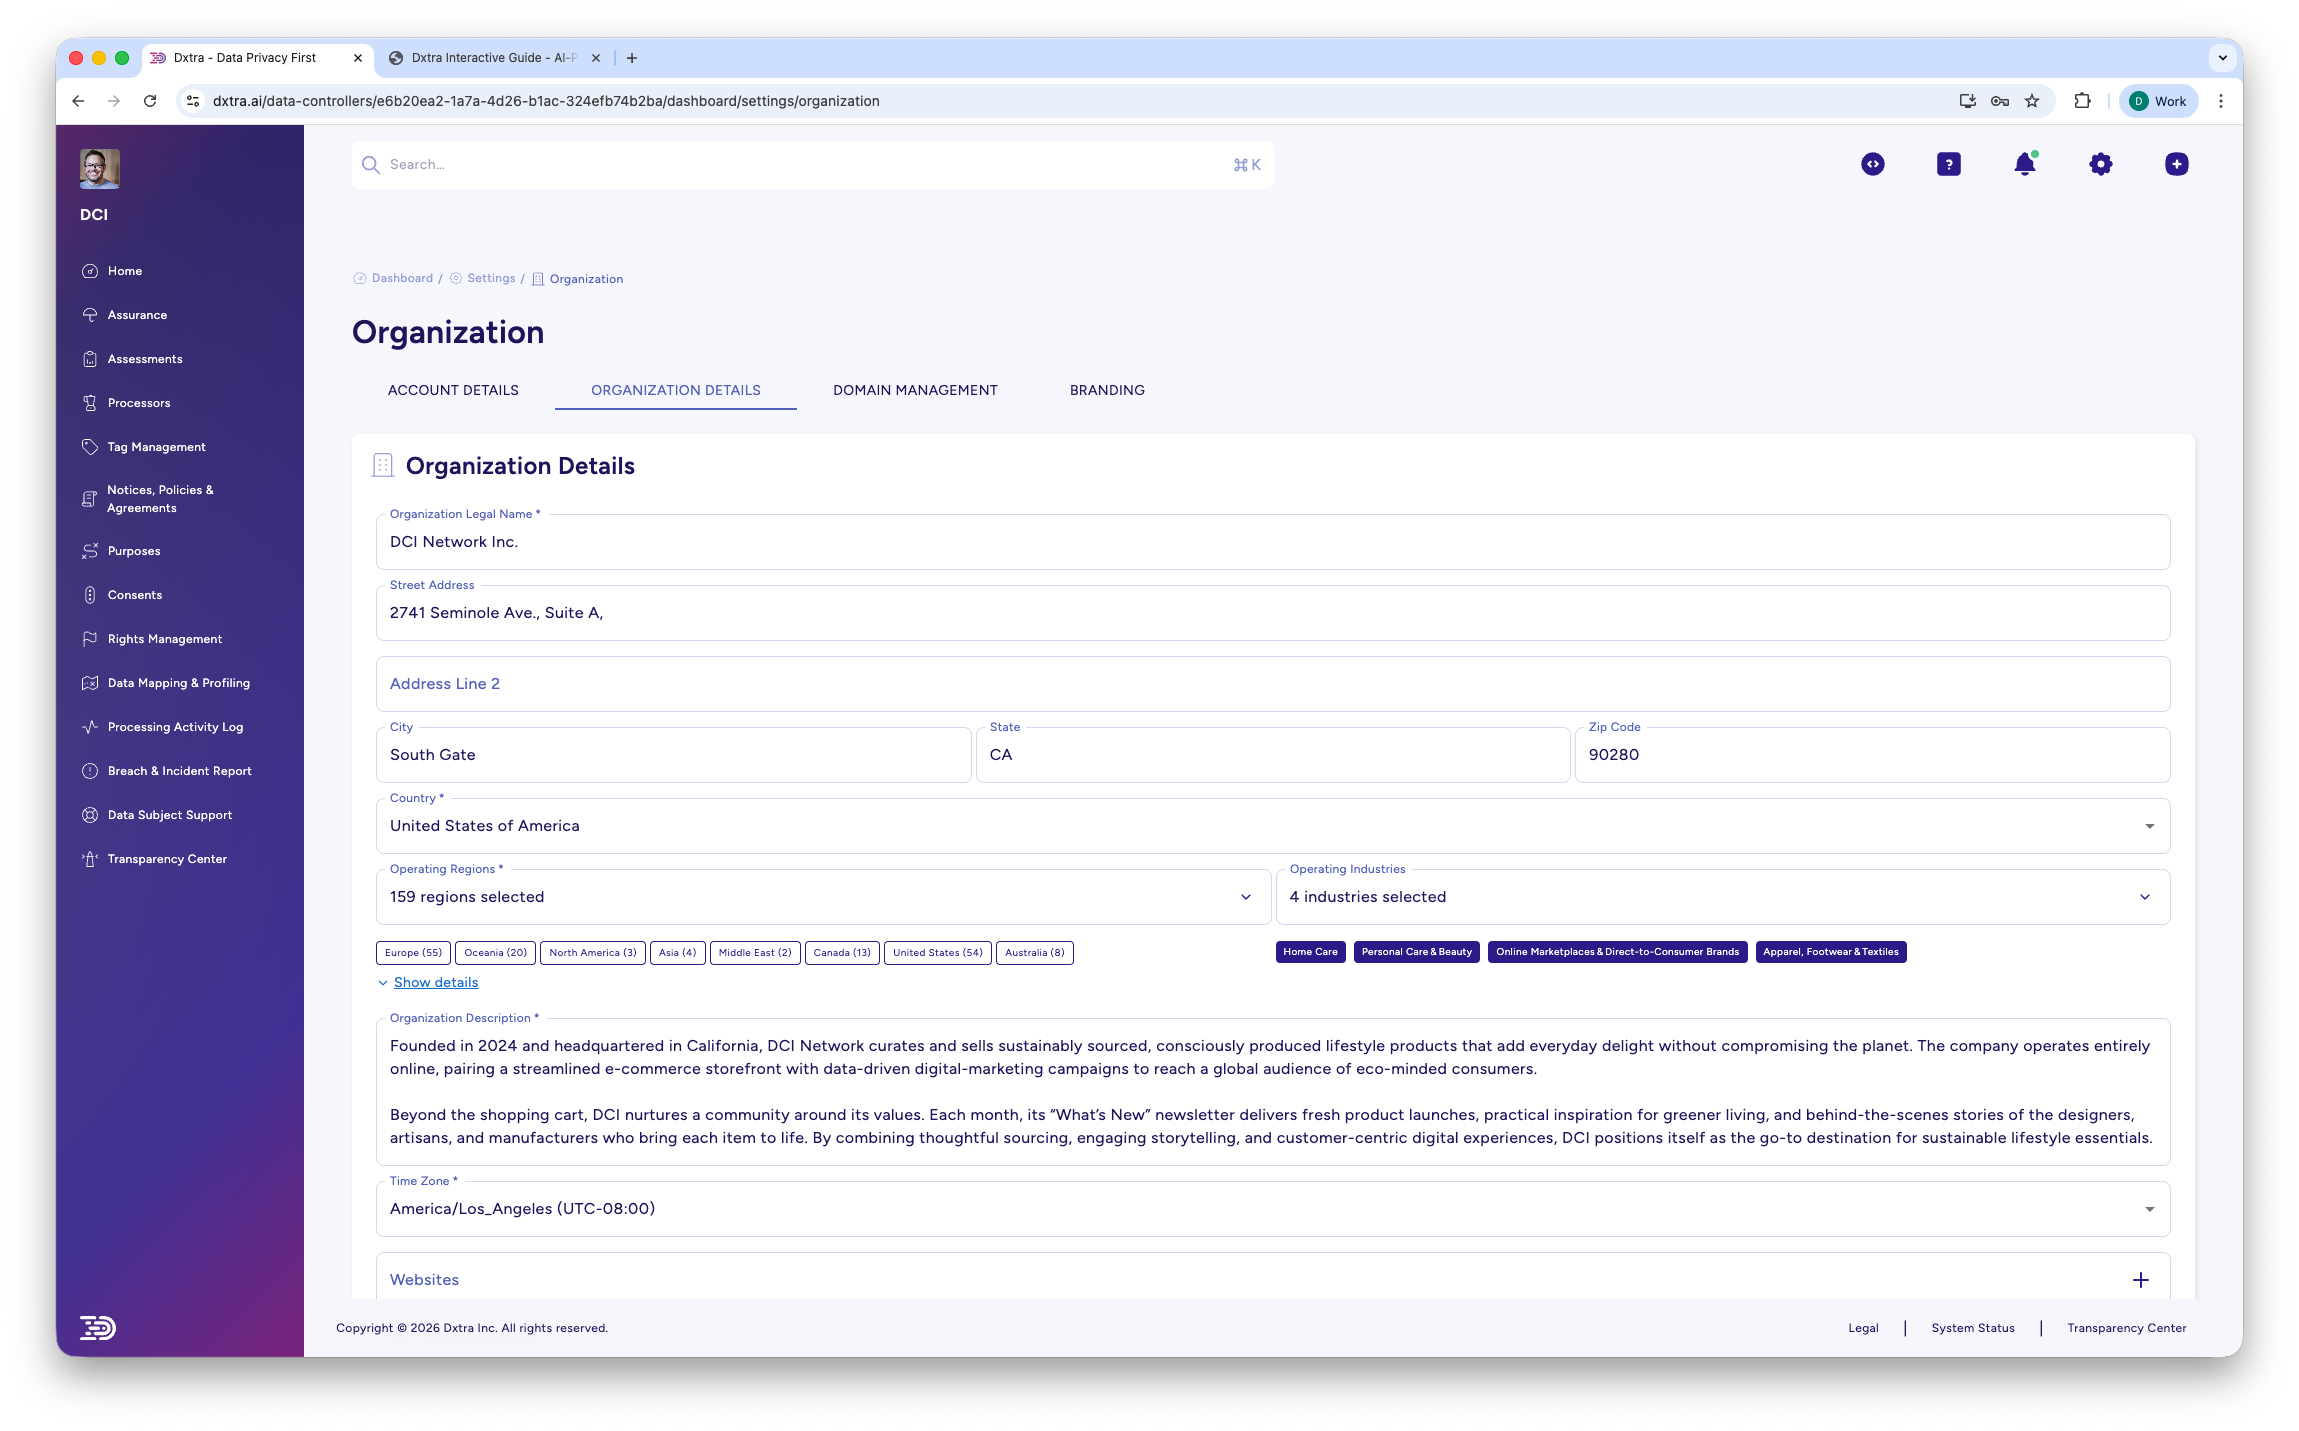
The Organization Details tab at Settings > Organization showing the company name, address fields, and selection summaries for operating regions (160 selected) and operating industries (4 selected). An AI-generated organization description appears at the bottom.
Key fields:
- Legal Organization Name — Your official registered business name. This appears in privacy notices and compliance documents.
- Address — Principal place of business (appears in privacy notices and legal correspondence).
- Operating Regions — Click to open the region selector and update where you operate.
- Operating Industries — Click to update your industry classifications.
- Organization Description — An AI-generated description based on your industries, which you can edit.
Select operating industries
Click the industries field to open a searchable modal with checkboxes for each industry category.
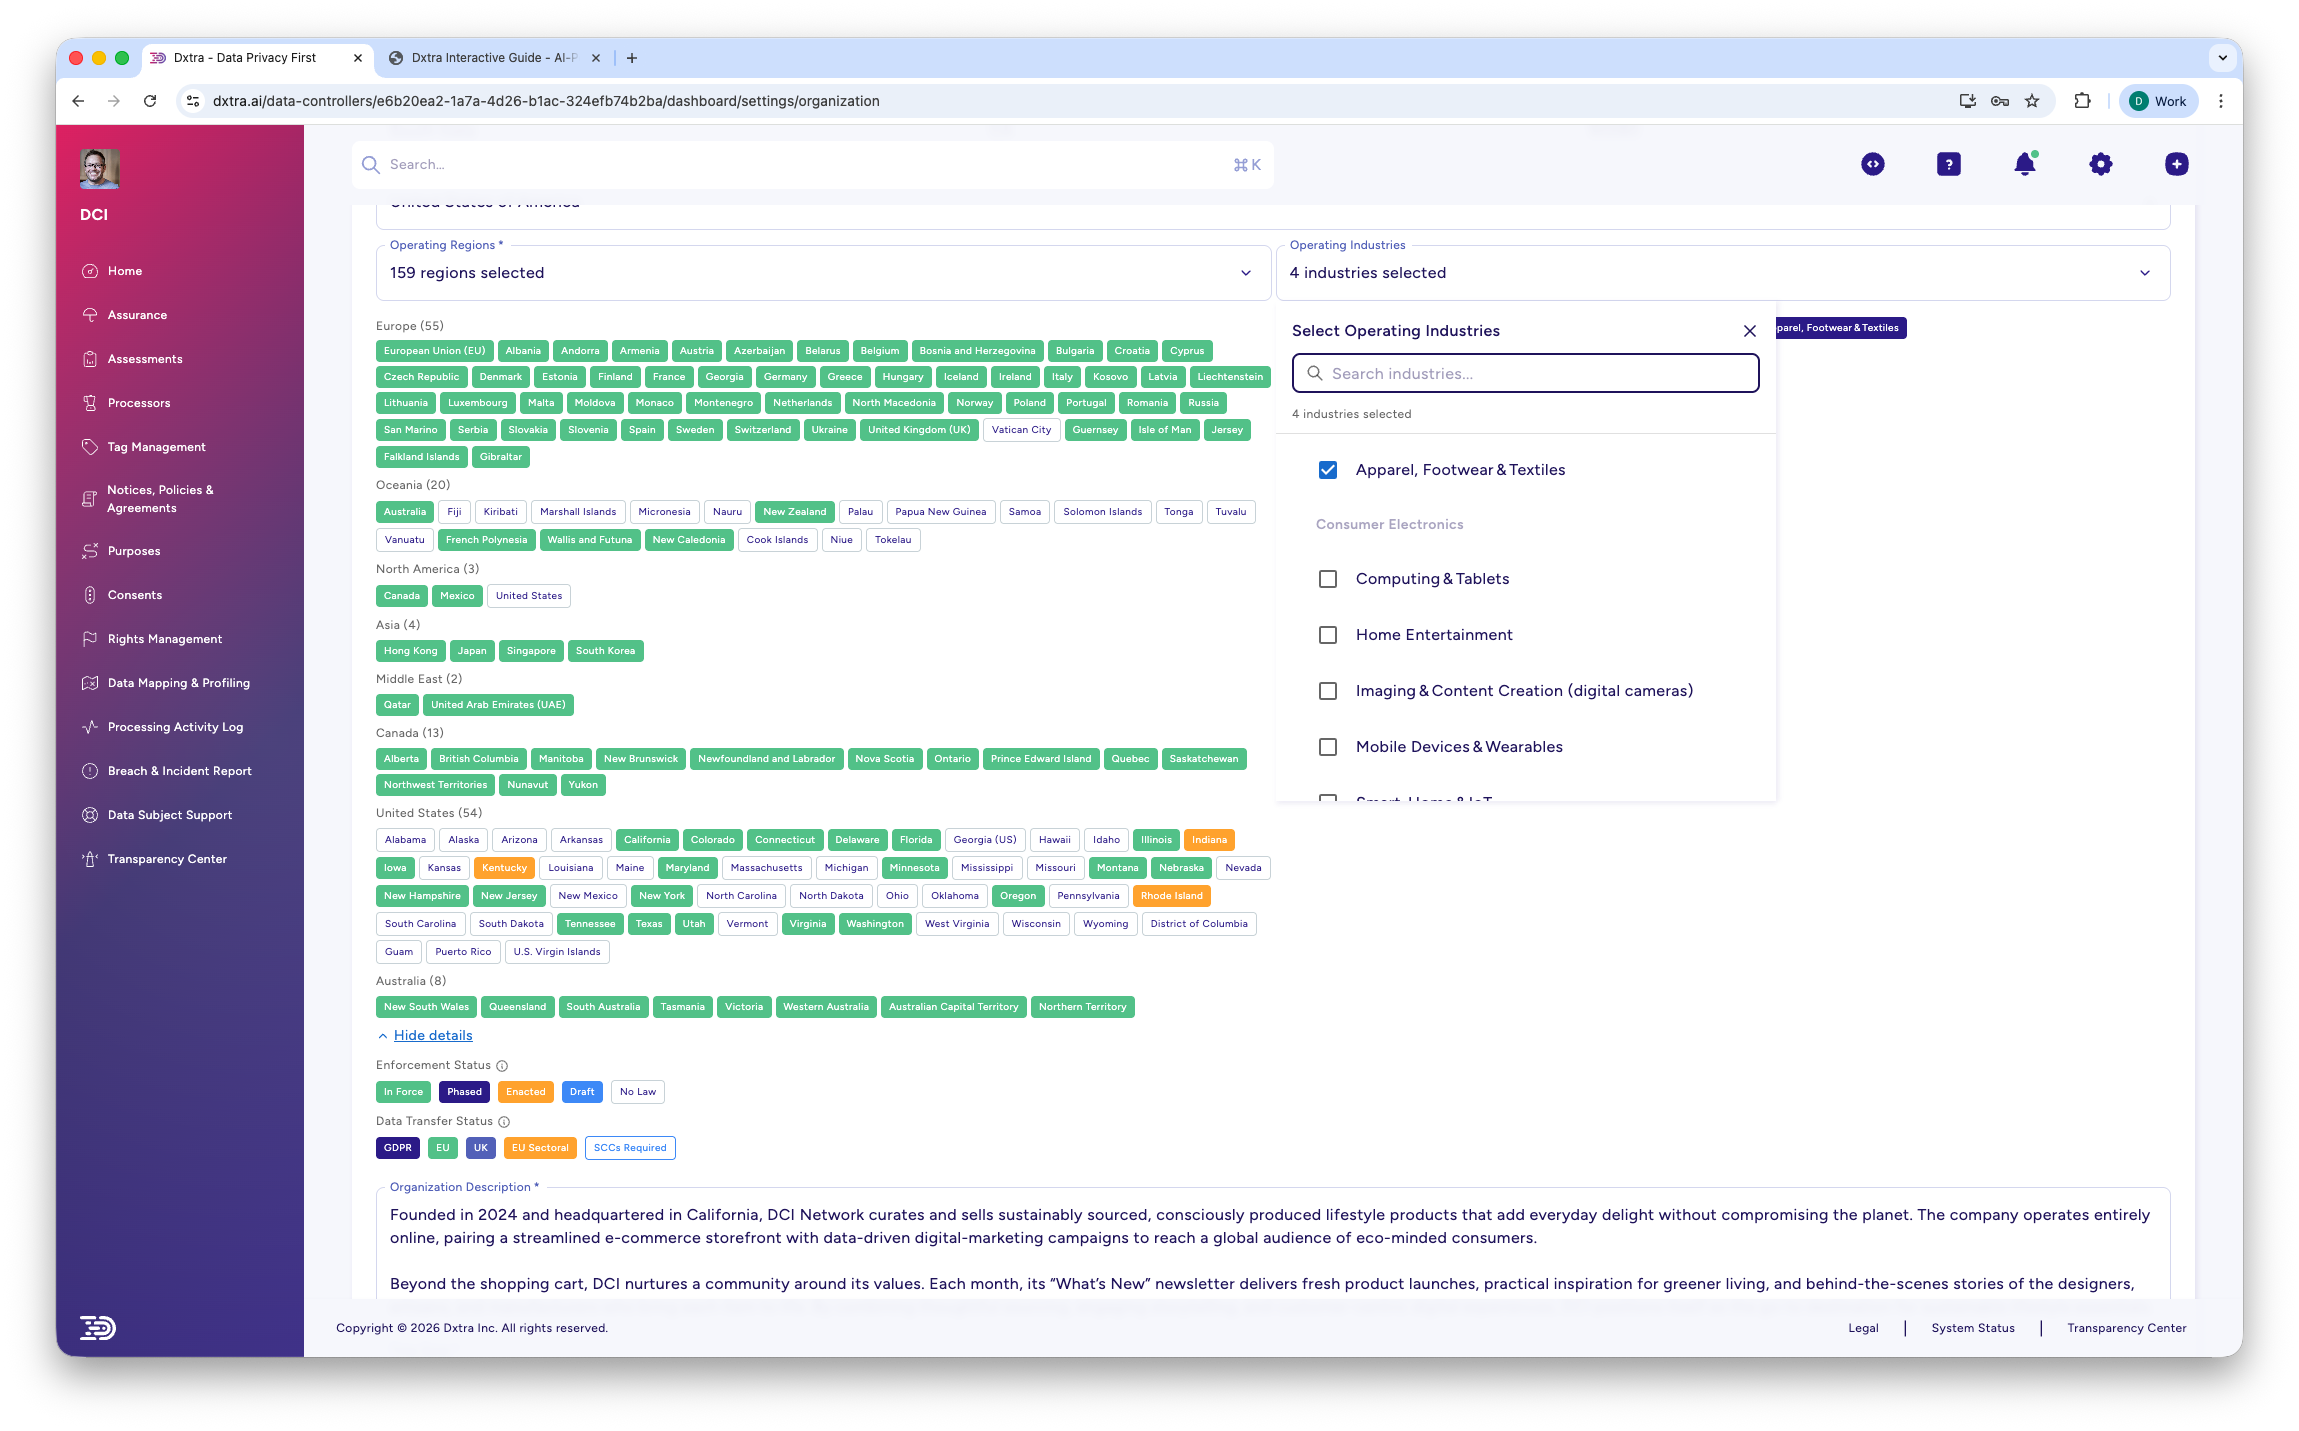
The "Select Operating Industries" modal showing a searchable list of industry categories with checkboxes. Categories visible include Agriculture, Computing & Tablets, E-commerce, Education Technology, Financial Services, Healthcare, and more.
Select operating regions
Click the regions field to open a hierarchical tree grouped by continent and country.
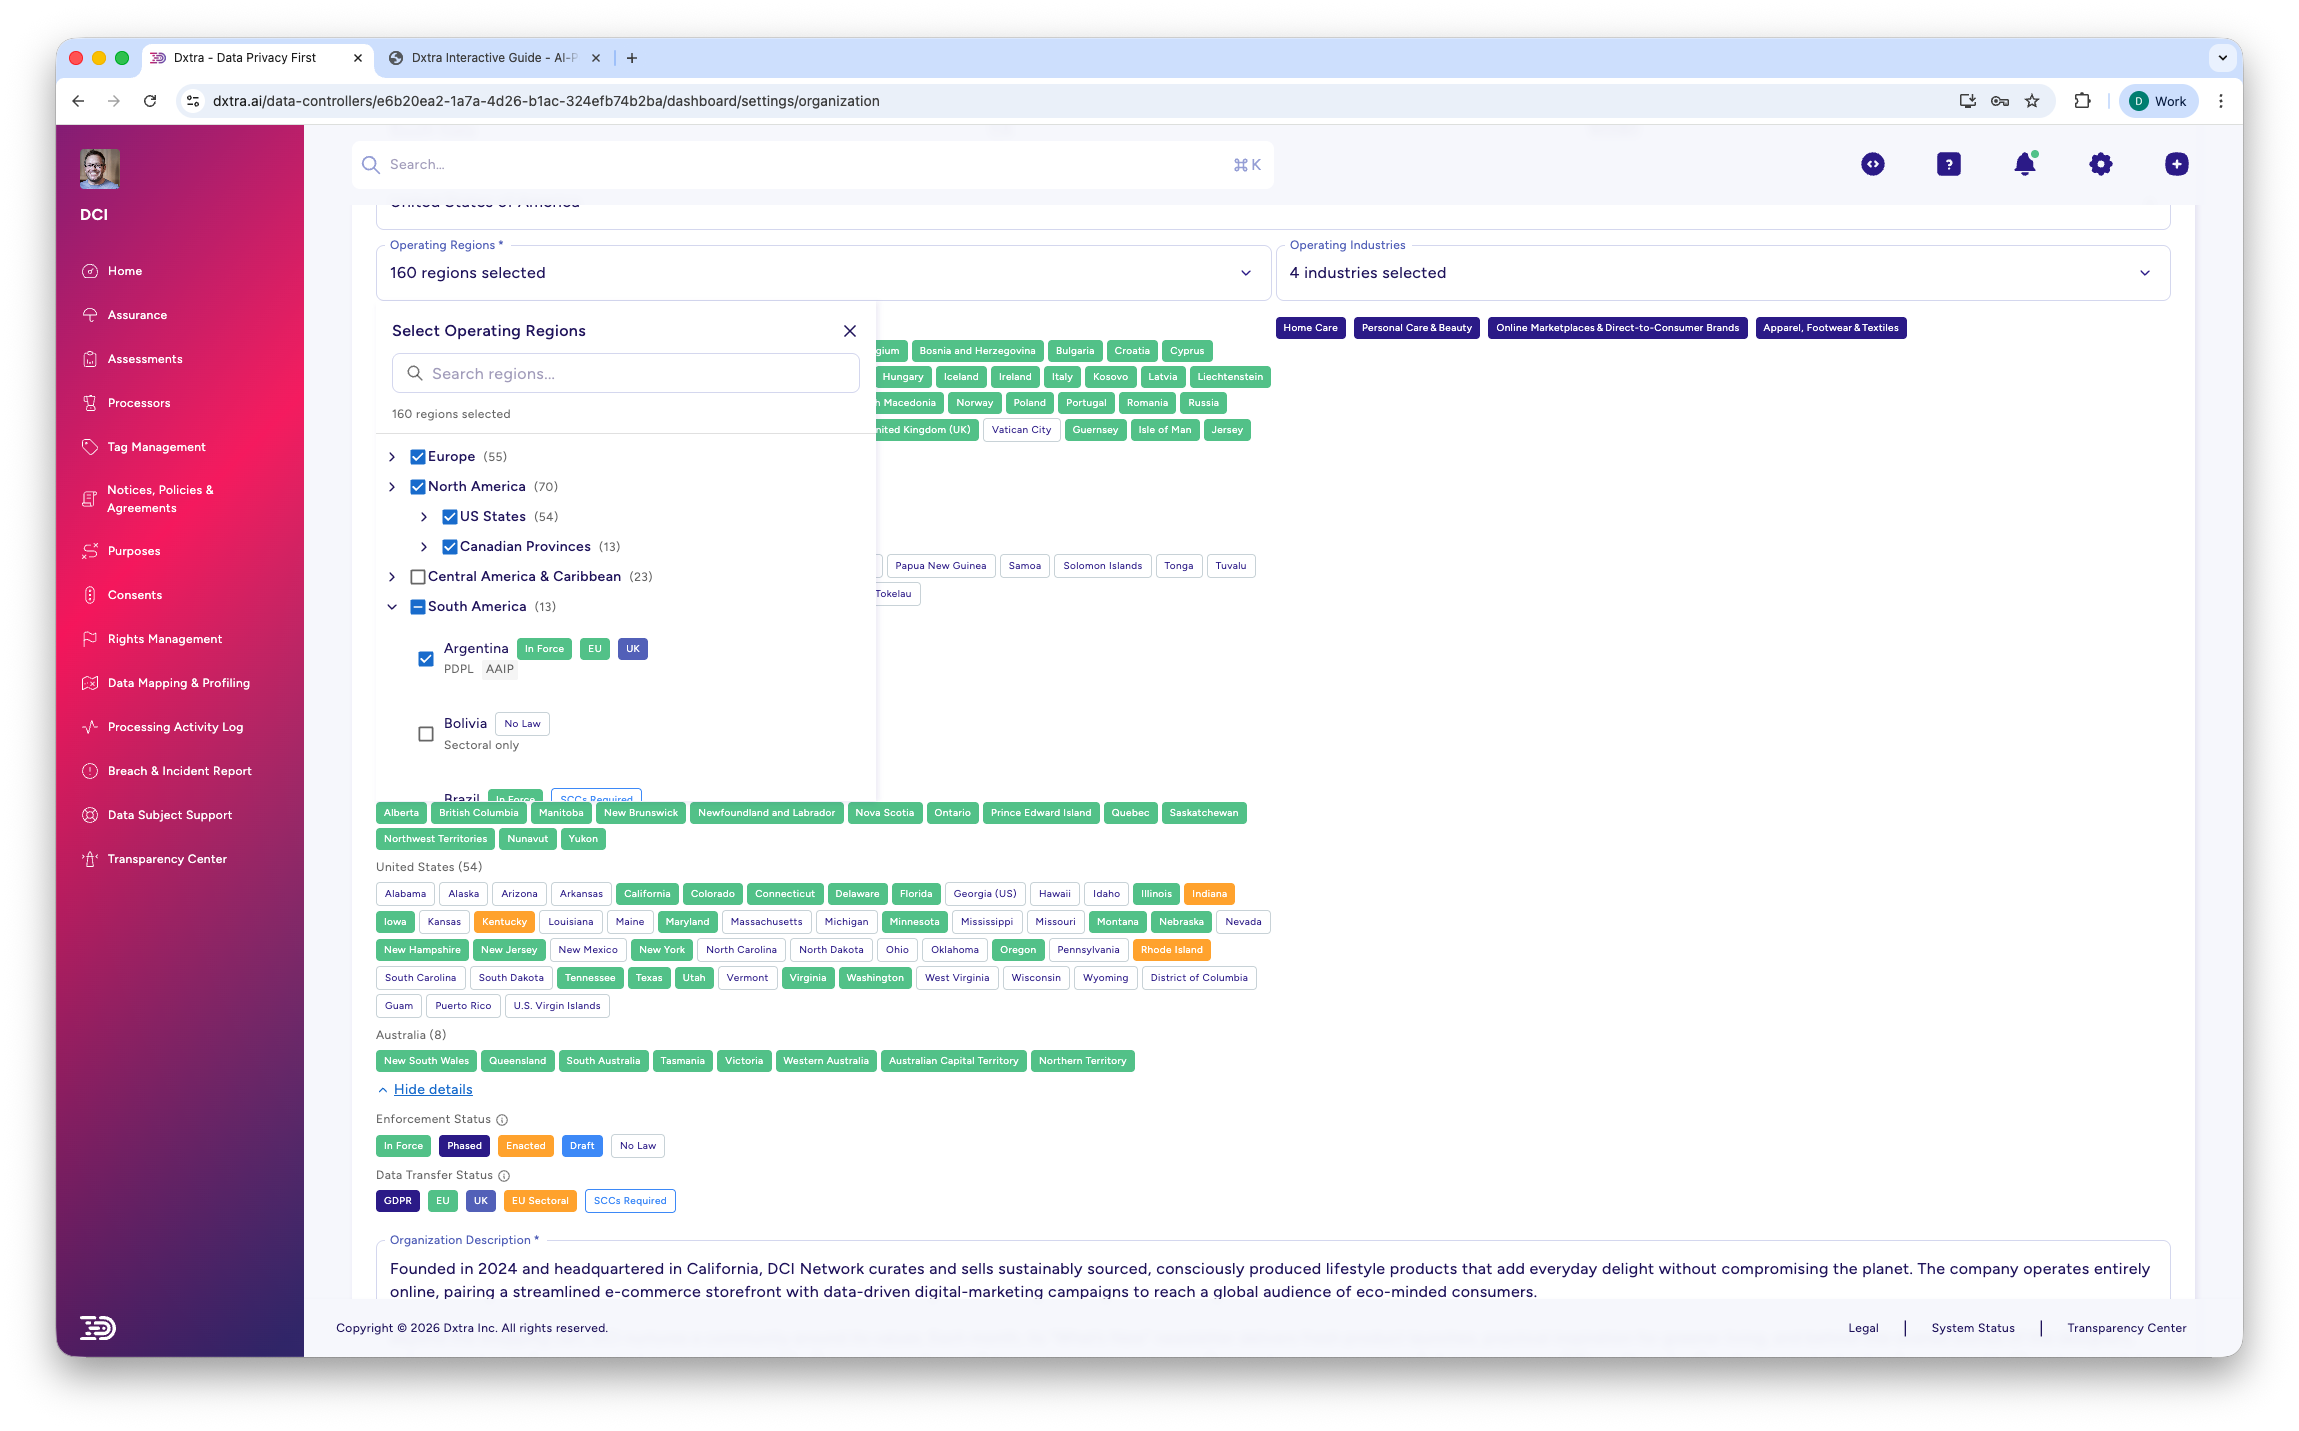
The "Select Operating Regions" modal showing a hierarchical tree structure. Continents expand to show countries, and countries expand to show states or provinces. Checkboxes allow selection at any level.
Bulk selection
Select an entire continent or country to include all its sub-regions. You can then deselect individual regions you don't operate in.
Branding
The Branding tab controls the visual identity of your Transparency Center and customer-facing materials.
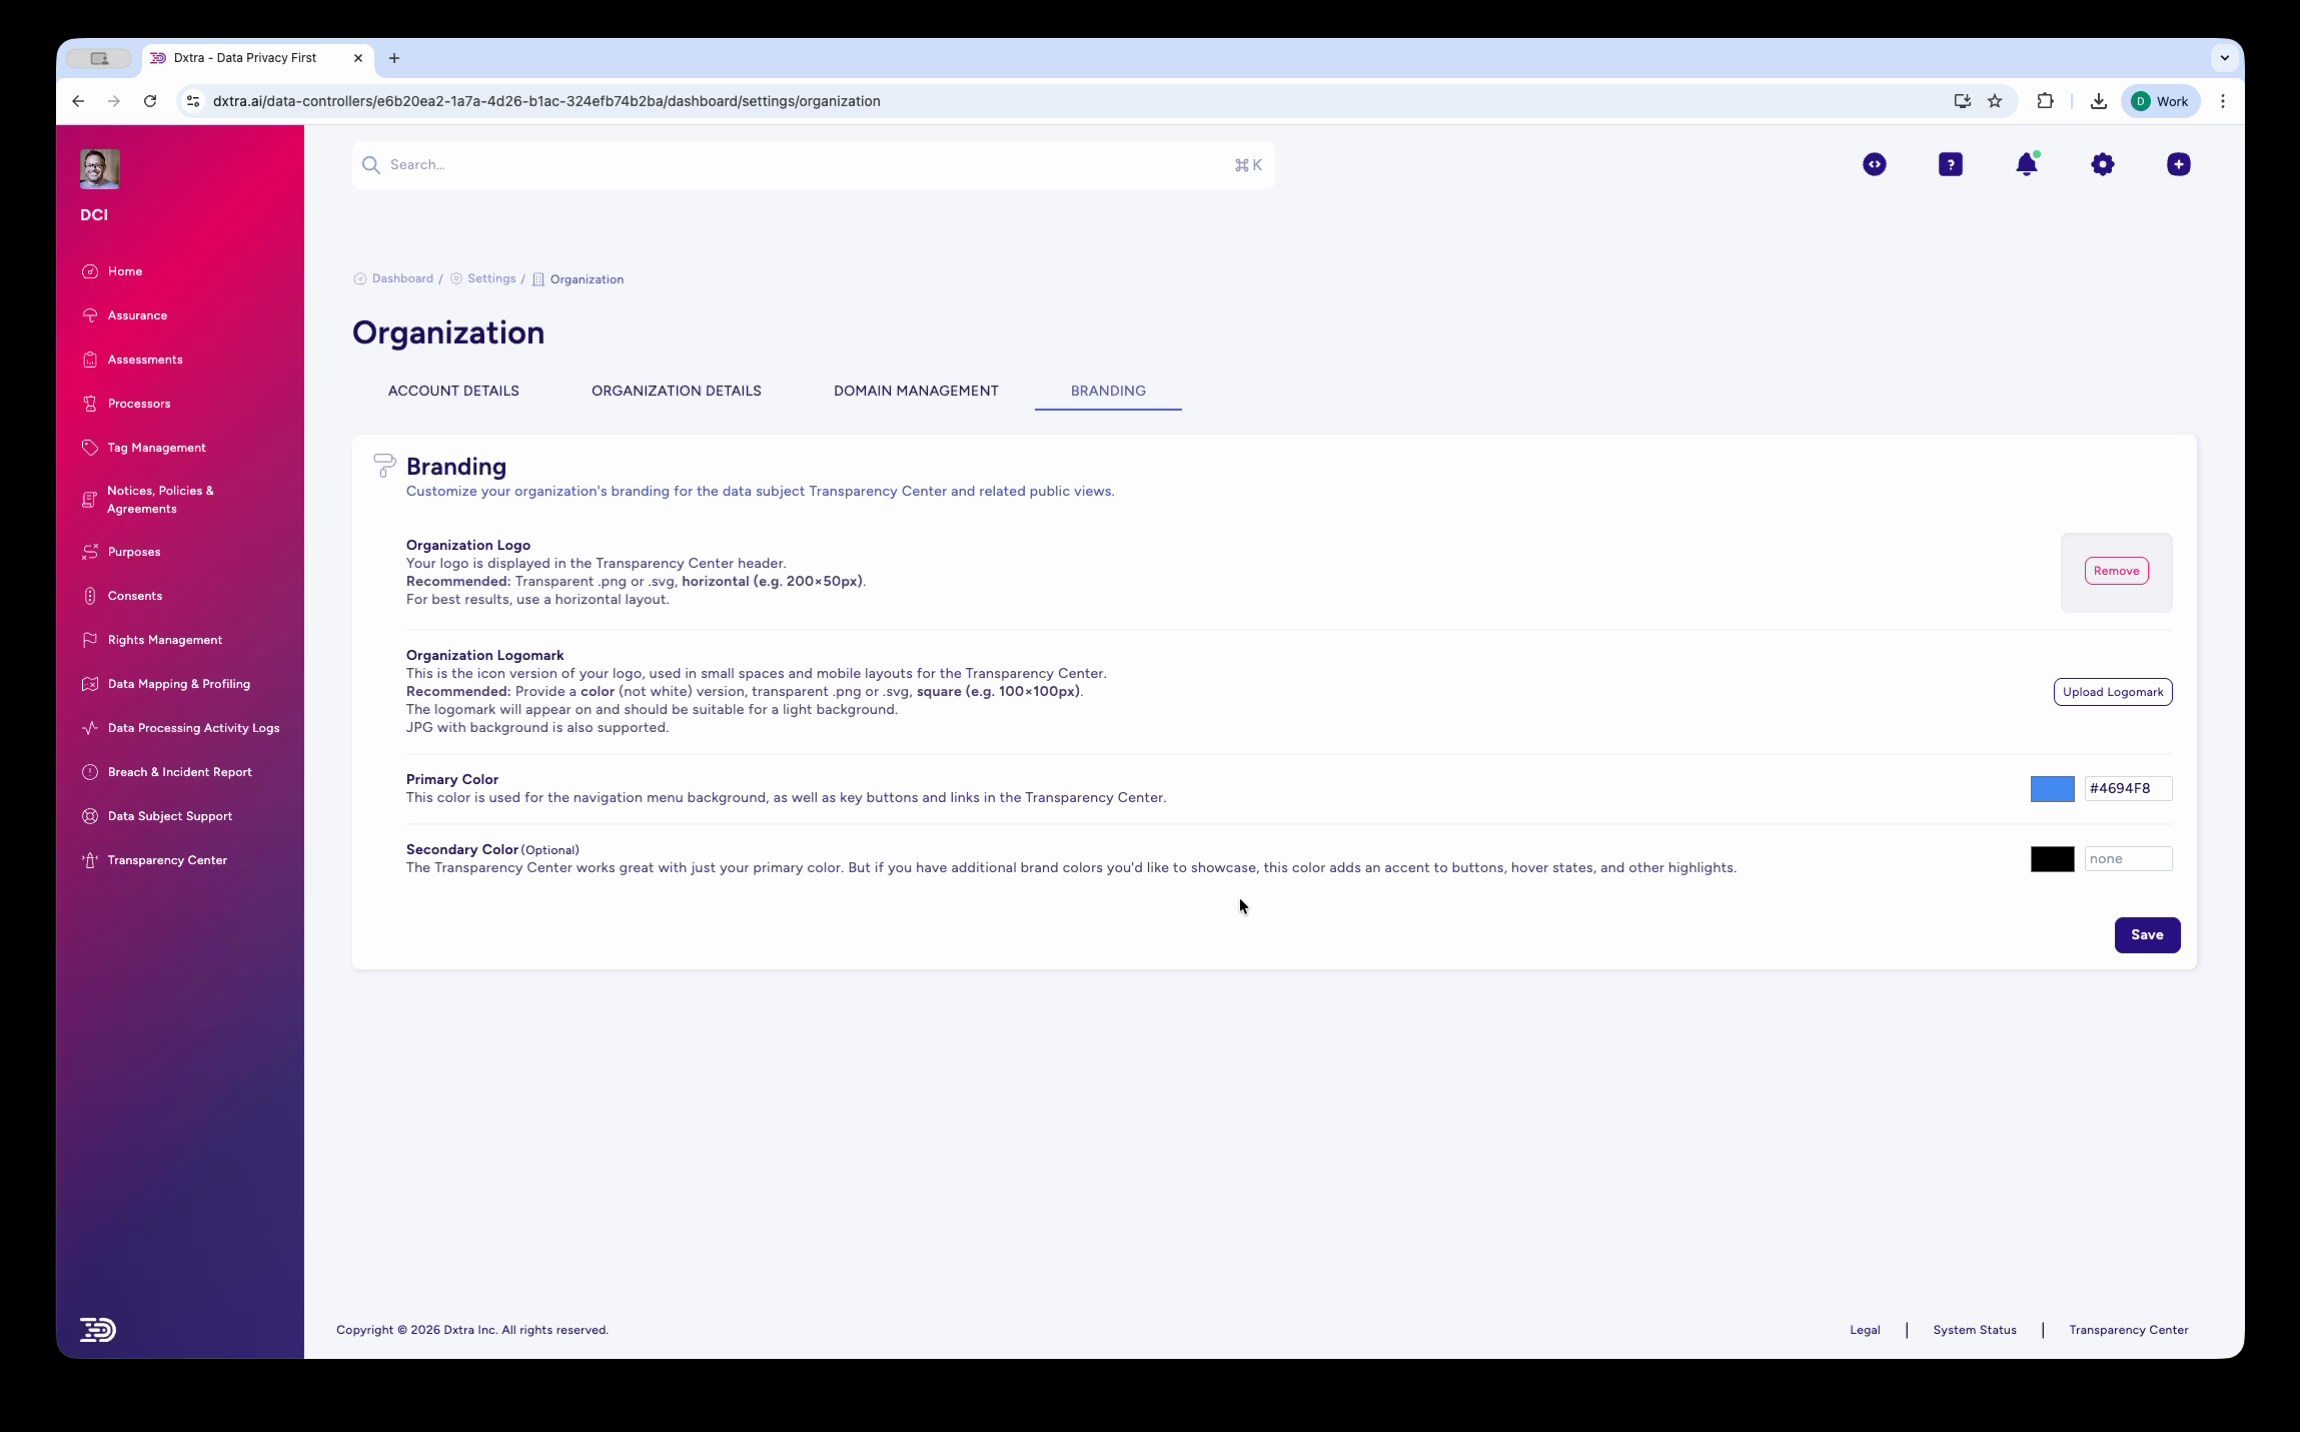
The Branding tab at Settings > Organization > Branding showing four configuration sections: Organization Logo (with Browse button for uploading), Organization Logomark (with Create Logomark button), Primary Color picker, and Secondary Color picker. Guidance text explains where each element appears.
Configure:
- Organization Logo — Your full logo displayed in the Transparency Center header. Upload a PNG or SVG (recommended size: up to 800×400px). For best results, use a horizontal layout.
- Organization Logomark — A smaller version of your logo used in compact spaces. Upload a square PNG or SVG (recommended size: up to 100×100px). JPG with transparent background is also supported.
- Primary Color — Used for the navigation menu background, call-to-action buttons, and links in the Transparency Center. Enter a hex code or use the color picker.
- Secondary Color — An accent color for buttons, hover states, and other highlights. The Transparency Center works well with just the primary color, but a secondary color adds visual variety.
Click Save to apply your branding. A success toast confirms the update.
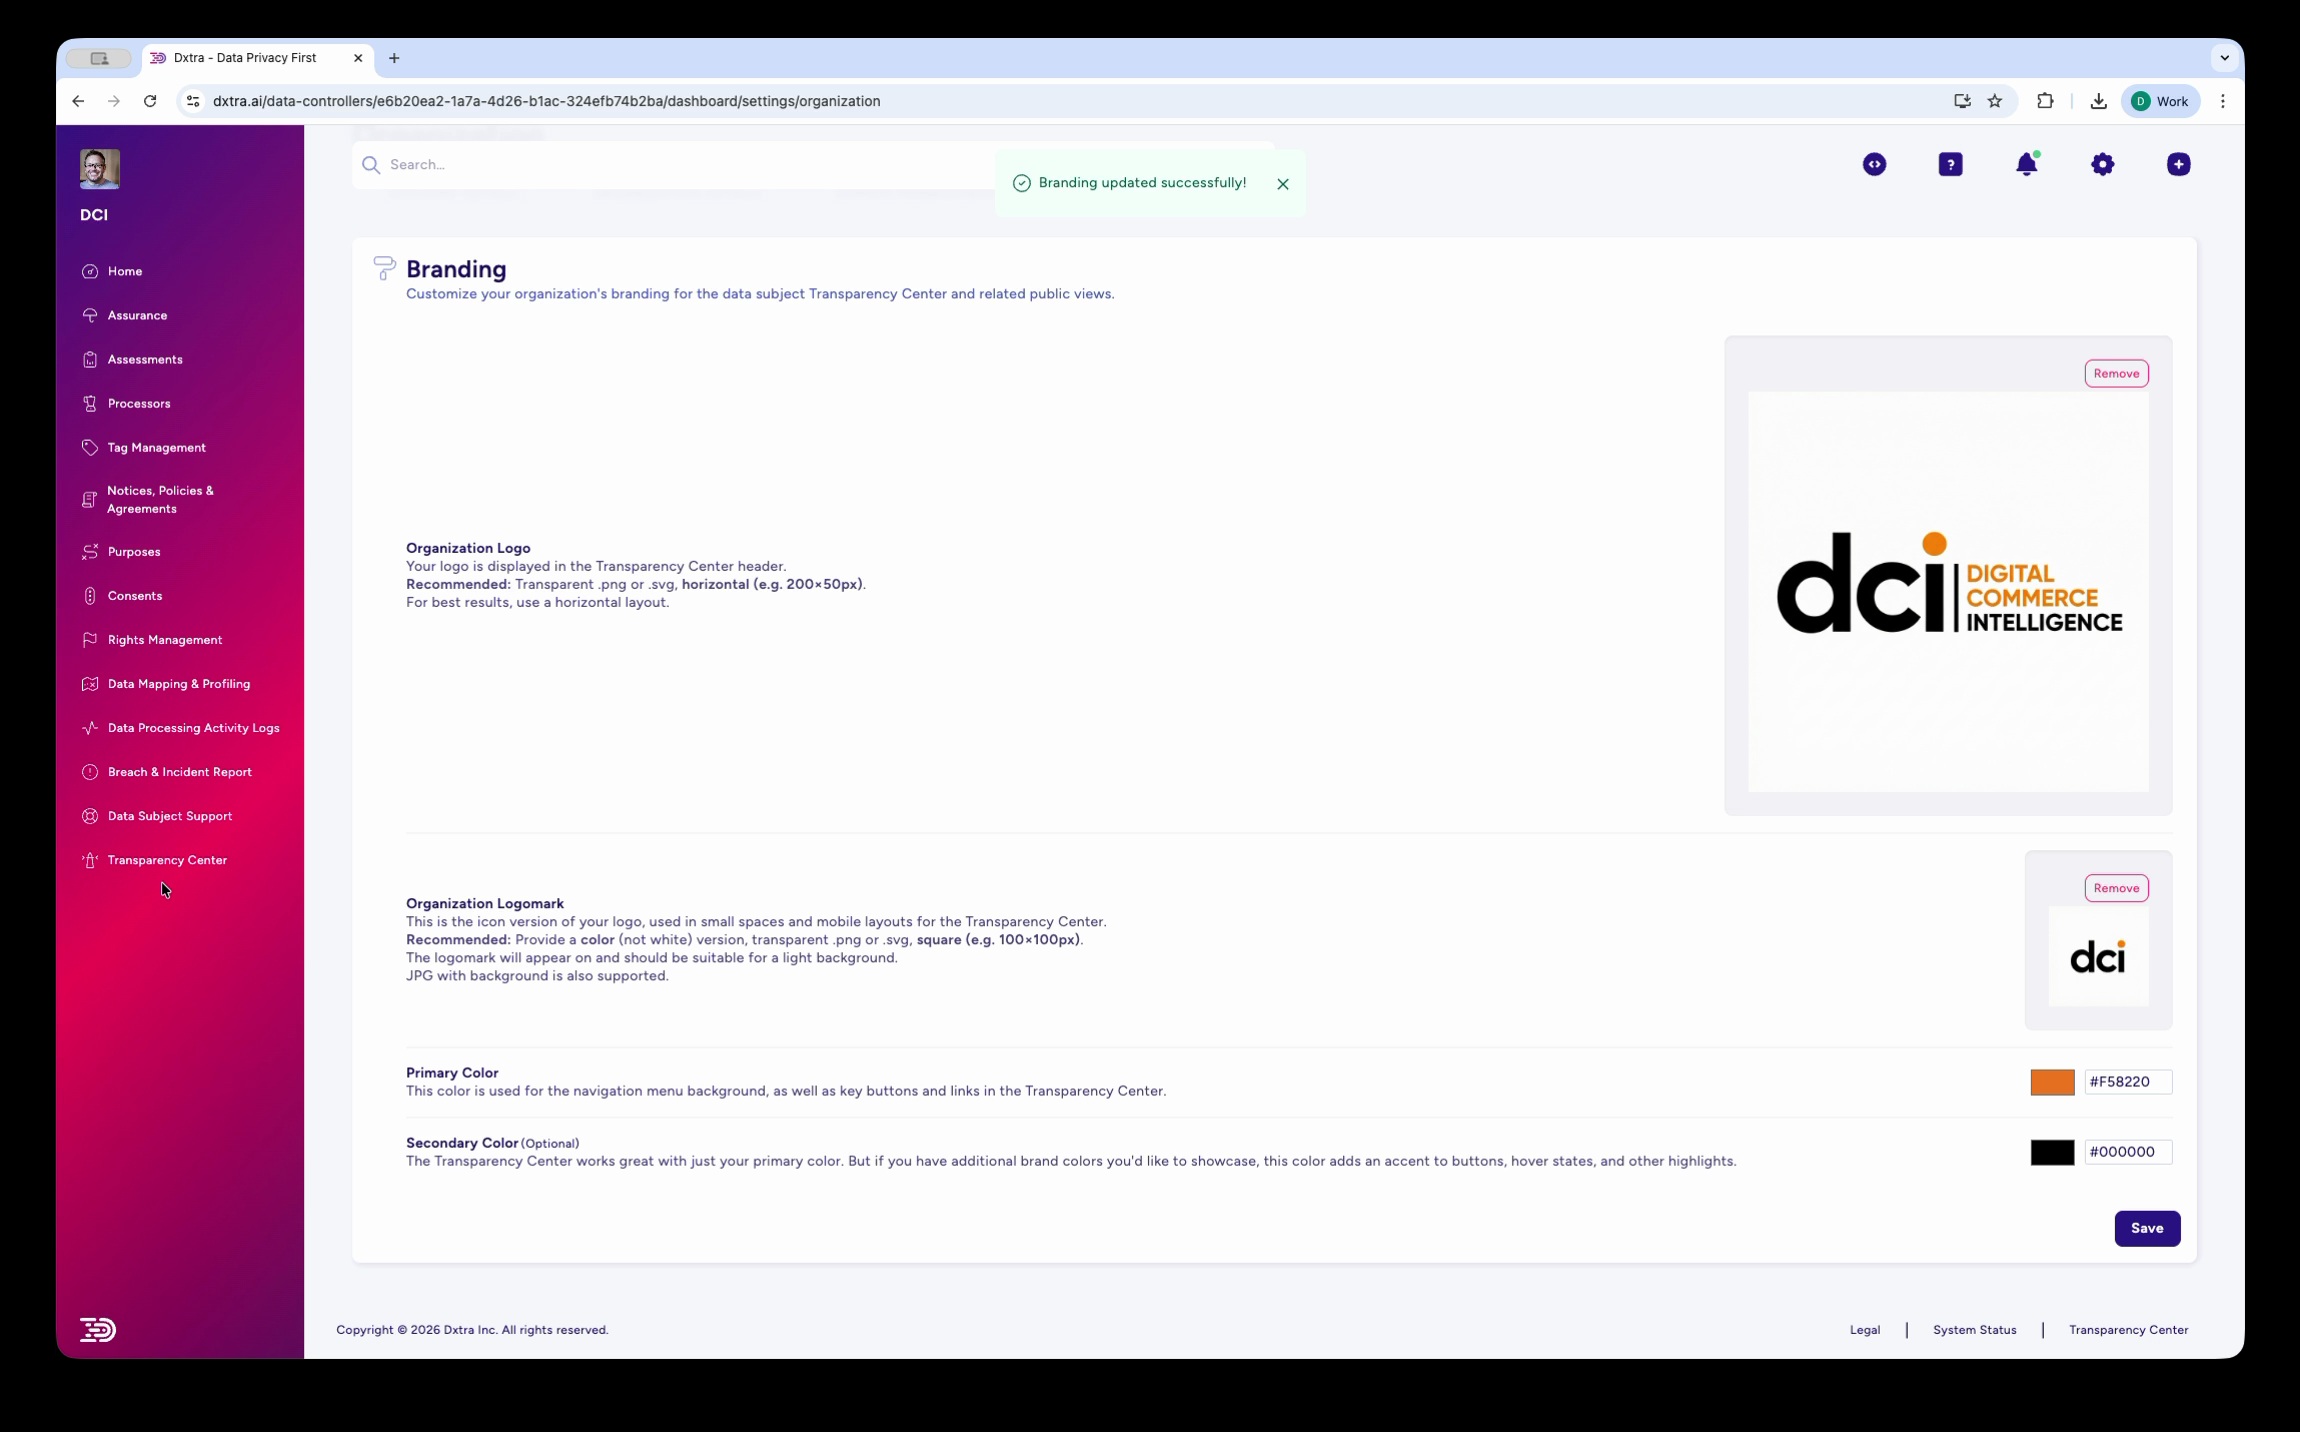
The Branding tab after saving, showing a "Branding updated successfully" toast notification. The uploaded organization logo and logomark are displayed in preview. The Primary Color (#F18533) and Secondary Color are set.
Domain management
The Domain Management tab lets you register and verify domains for embedded Dxtra widgets and Tag Manager.
Register a domain
- Navigate to Settings > Organization > Domain Management
- Enter the full domain where you'll use Dxtra services (e.g.,
mycompany.comorshop.mycompany.com) - Click Save
Dxtra generates a DNS TXT record that you need to add at your domain registrar.
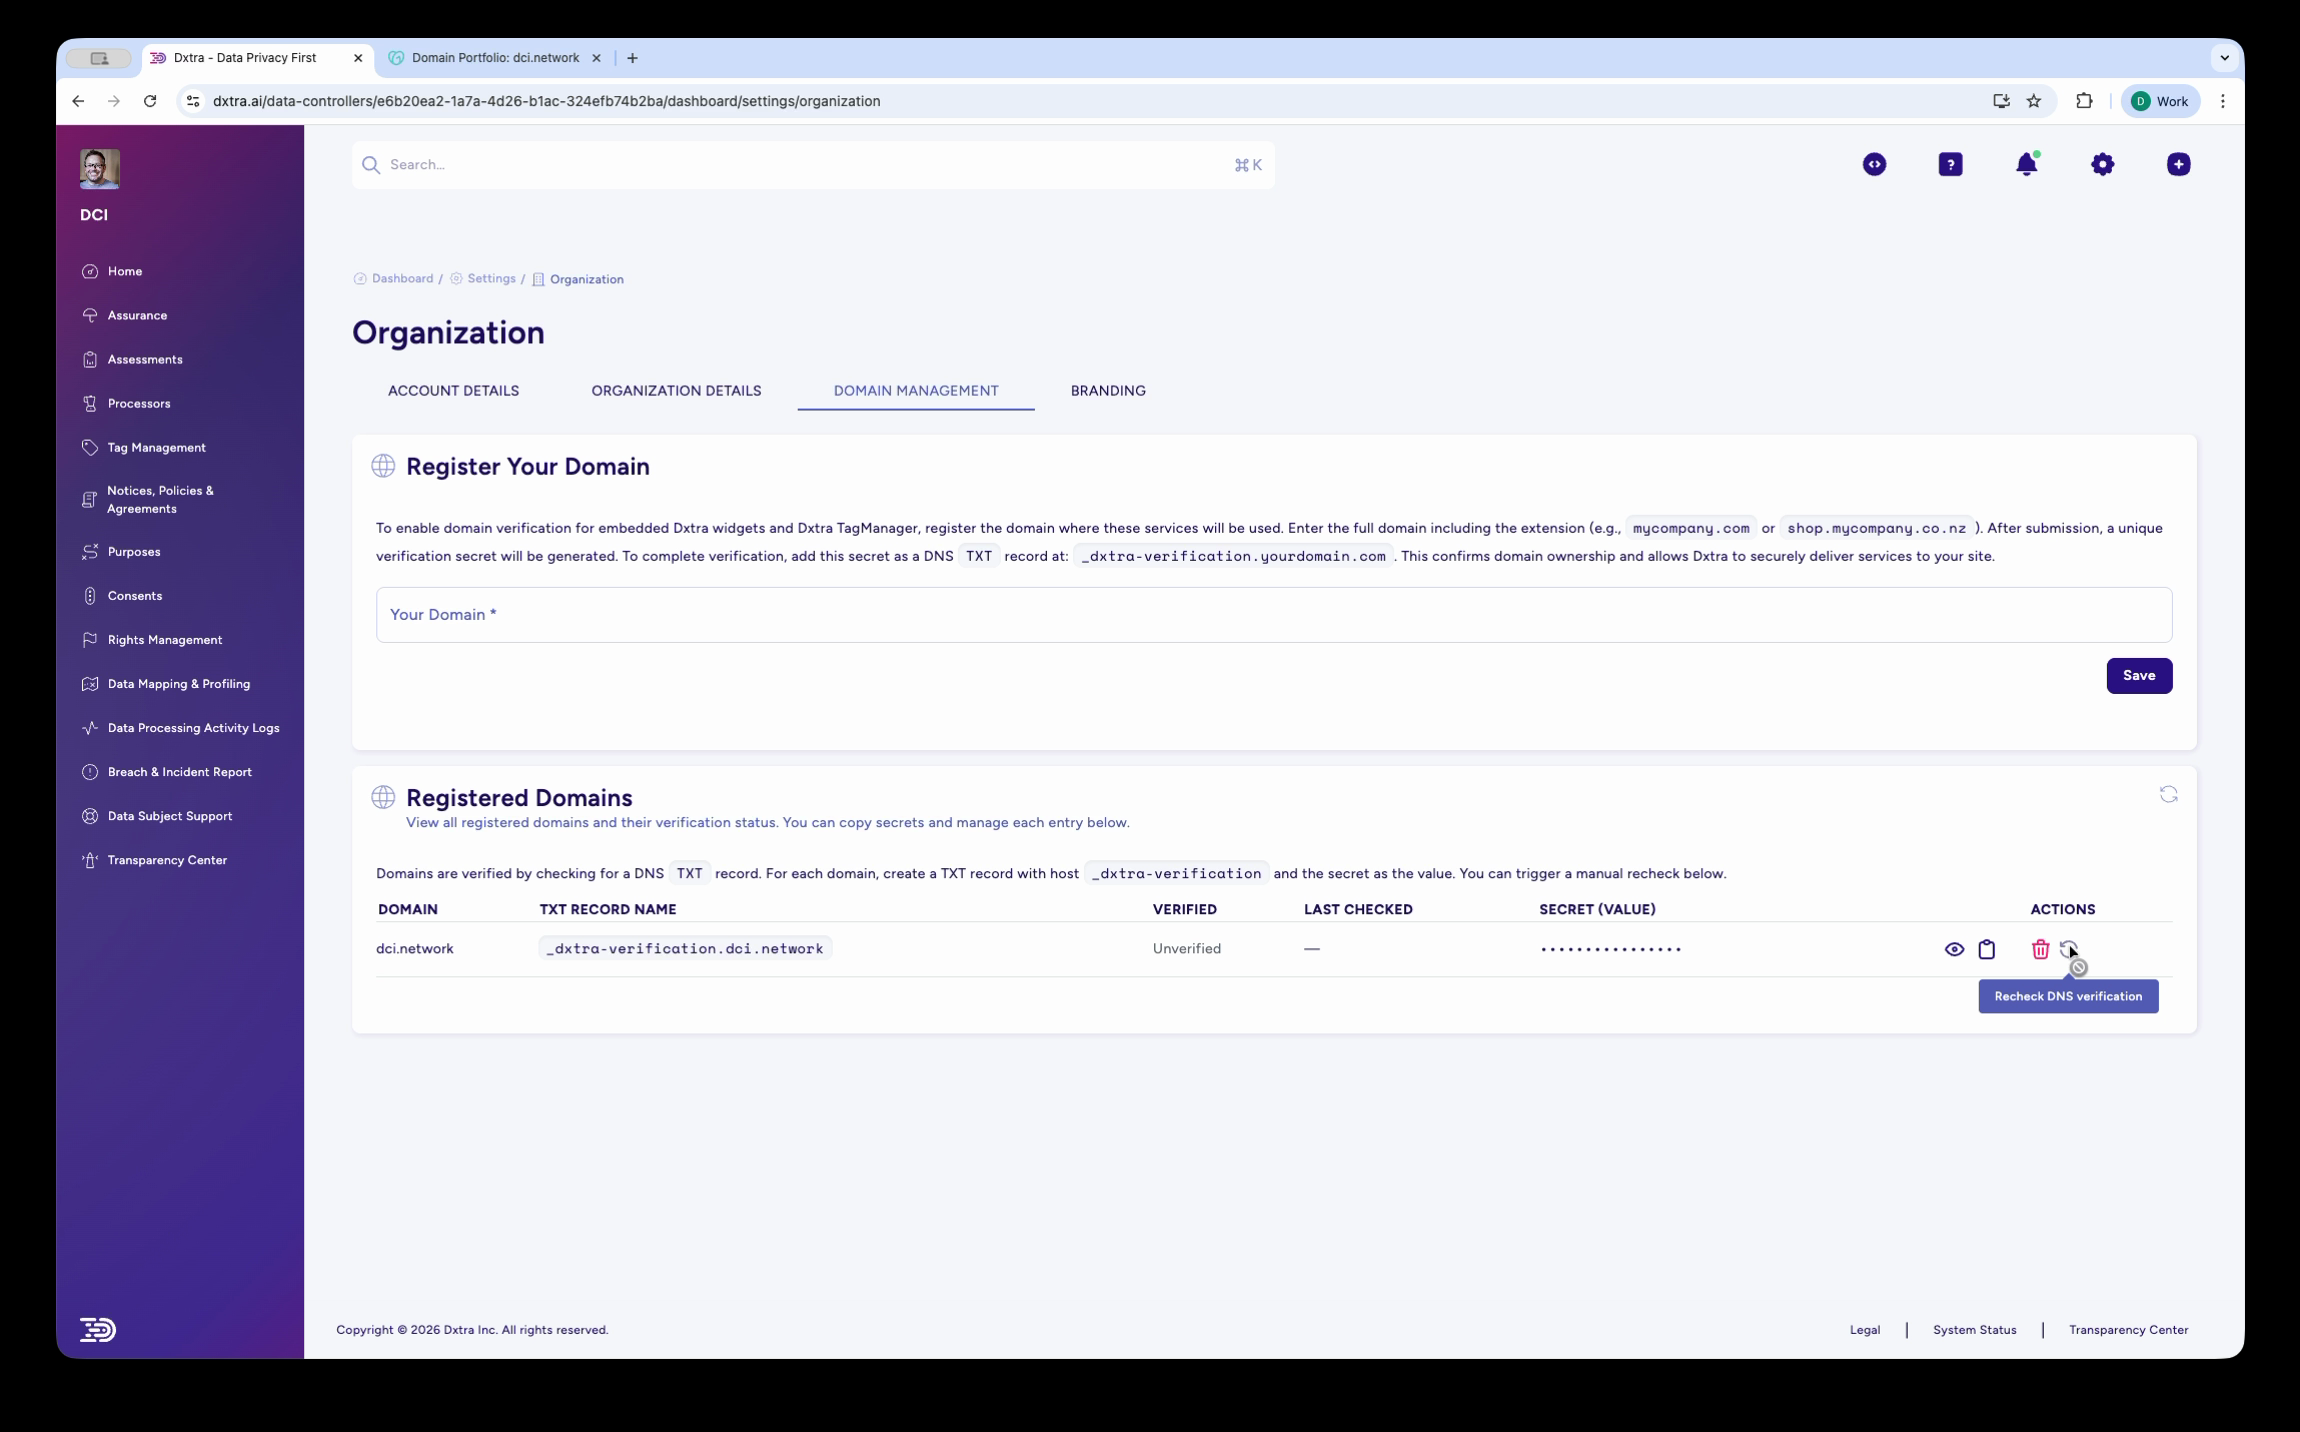
The Domain Management tab at Settings > Organization showing "Register Your Domain" instructions at the top, explaining DNS TXT record verification. Below, the "Registered Domains" section displays a table with columns for Domain, TXT Record Name, Verified status, Last Checked date, Secret (Value), and Actions. Action buttons include view, edit, delete, and "Request DNS Verification."
Verify your domain
- Copy the TXT record name shown in the Registered Domains table (format:
_dxtra-verification.[yourdomain]) - Add this as a DNS TXT record at your domain registrar, with the value provided by Dxtra
- Return to Dxtra and click Request DNS Verification in the Actions column
- Once DNS propagates (typically minutes, up to 48 hours), the status changes to Verified
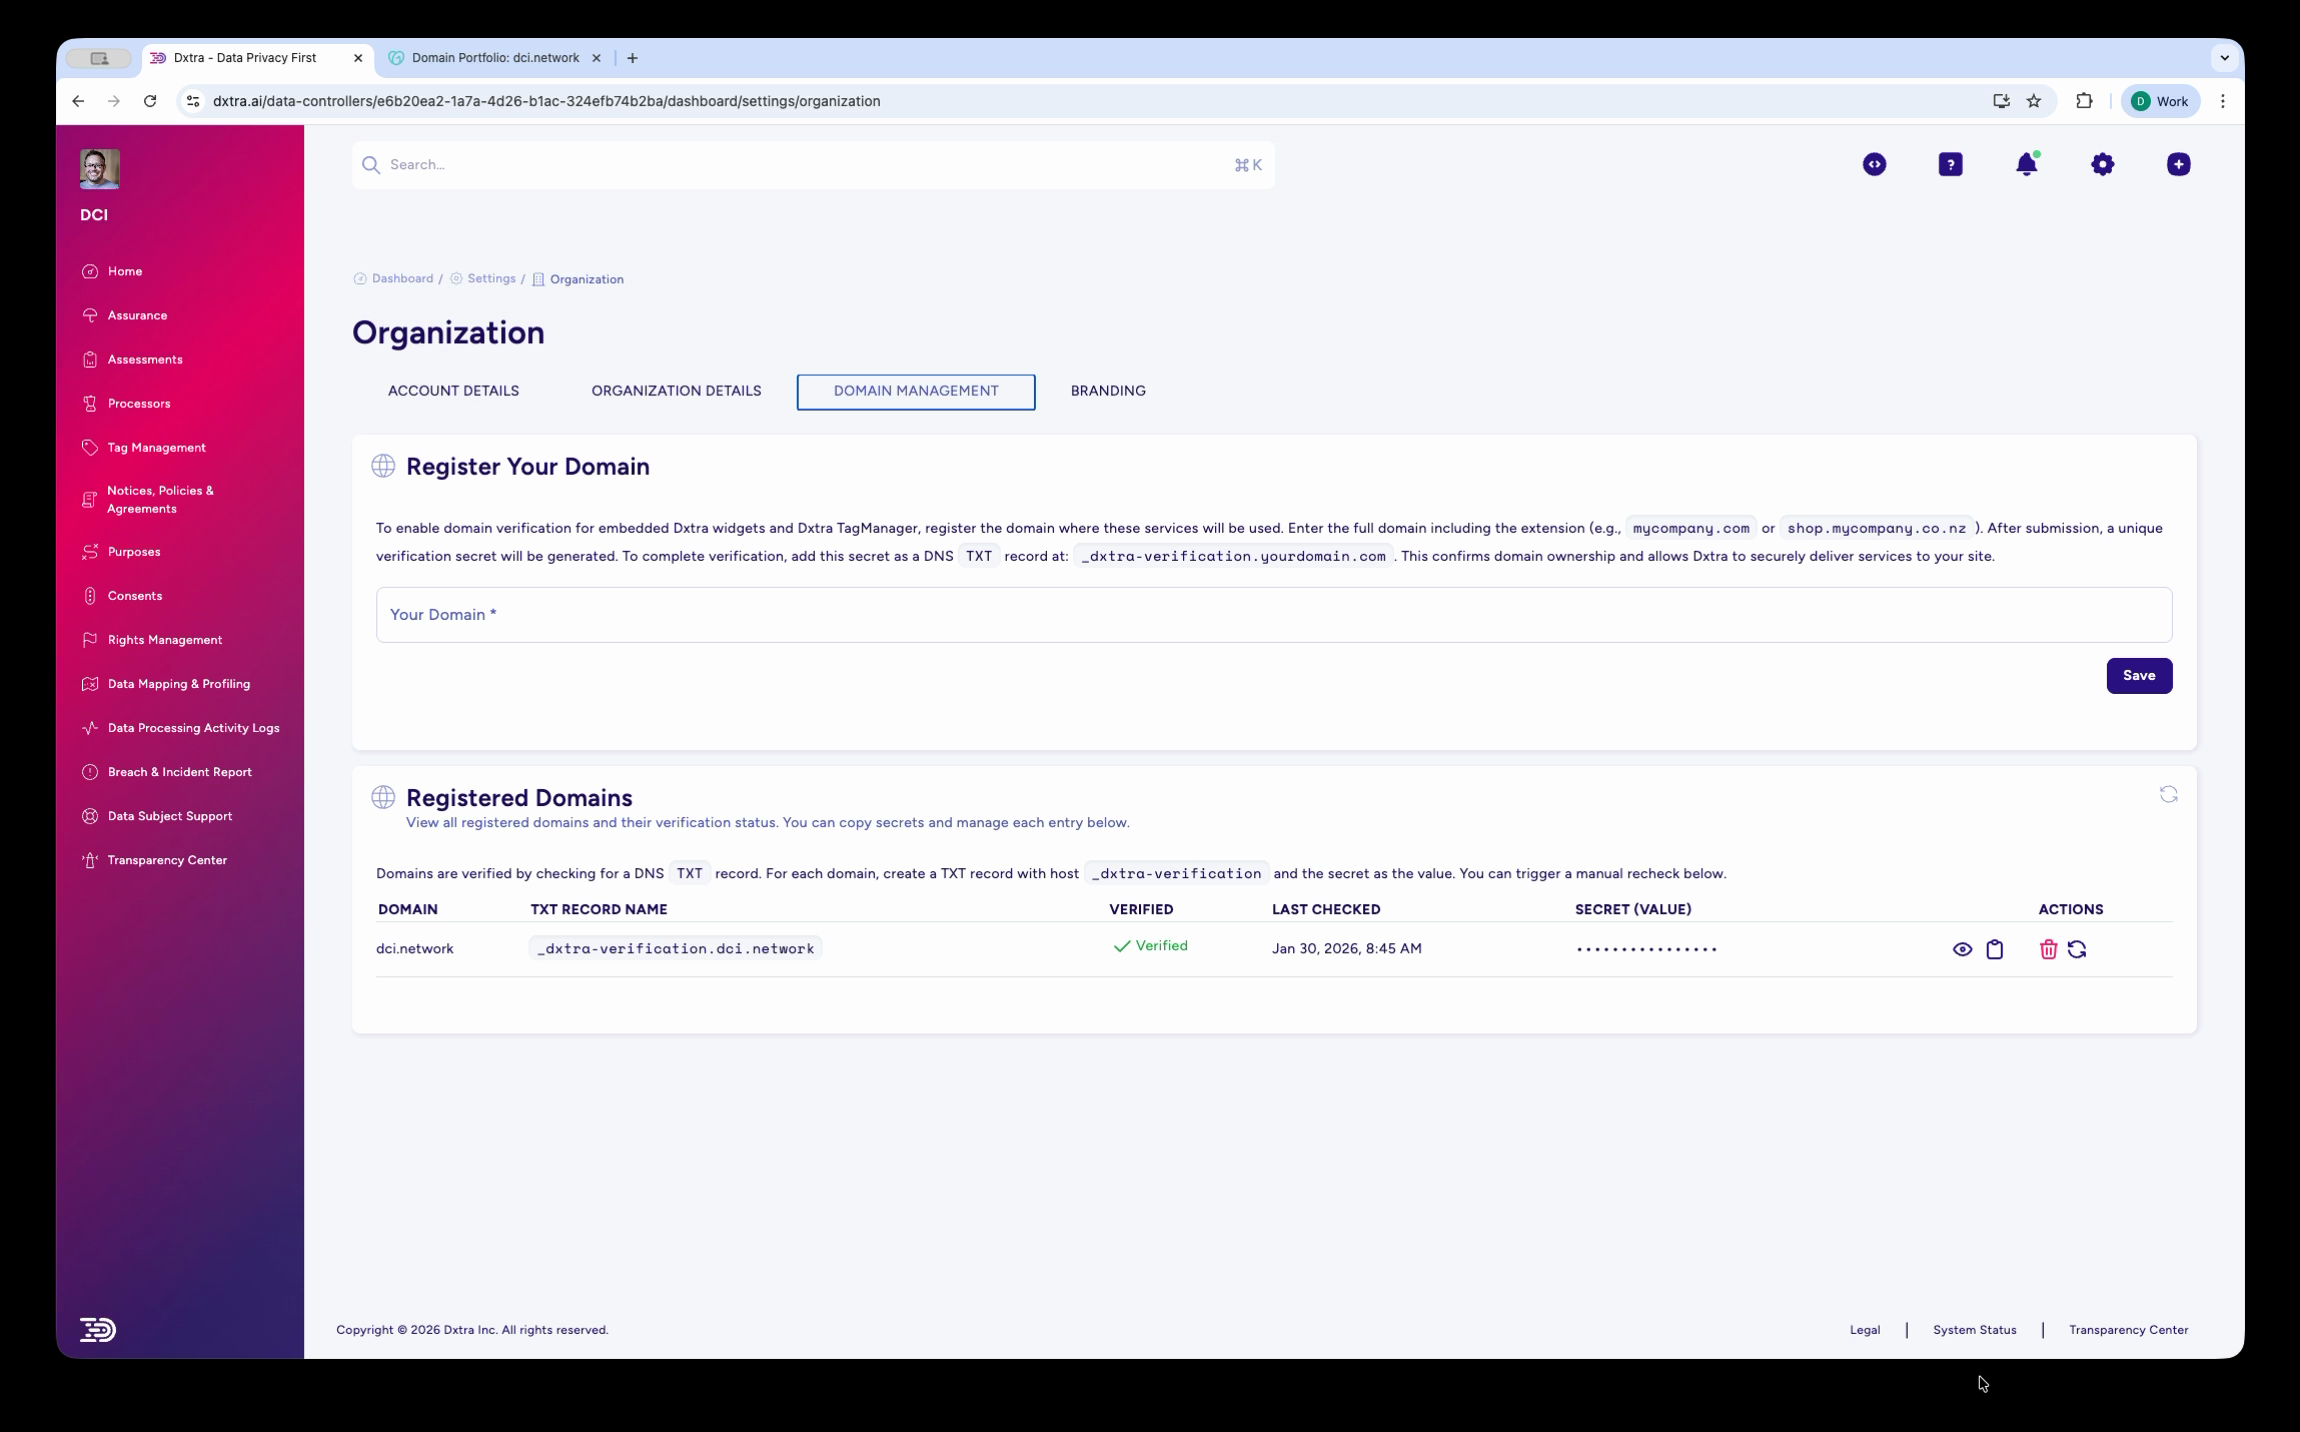
The Domain Management tab showing a domain with "Verified" status (green checkmark), a "Last Checked" date of Jan 30, 2026, and the secret value masked with dots. The domain's TXT record name is visible in the table.
Once verified, you can deploy embedded Dxtra widgets, Tag Manager scripts, and Transparency Center components on that domain.
Multiple domains
The number of domains you can register depends on your plan. The Start, Growth, and Scale plans include 1 domain. Enterprise includes up to 10 domains.
What you just configured
After completing these settings, your organization details, branding, and domain are in place. These feed into:
- Privacy notices — Your organization name, address, and DPO contact appear in generated notices
- Transparency Center — Your logo, colors, and branding are applied to the public-facing privacy portal
- Tag Manager — Domain verification enables first-party cookie tracking and consent enforcement
- Compliance documents — Assessments and reports reference your registered organization details
Next steps
- Invite team members and configure security — Add team members and enable 2FA
- Review your initial compliance setup — Review and approve your AI-generated Version 0
- Workspace onboarding overview — Full onboarding walkthrough